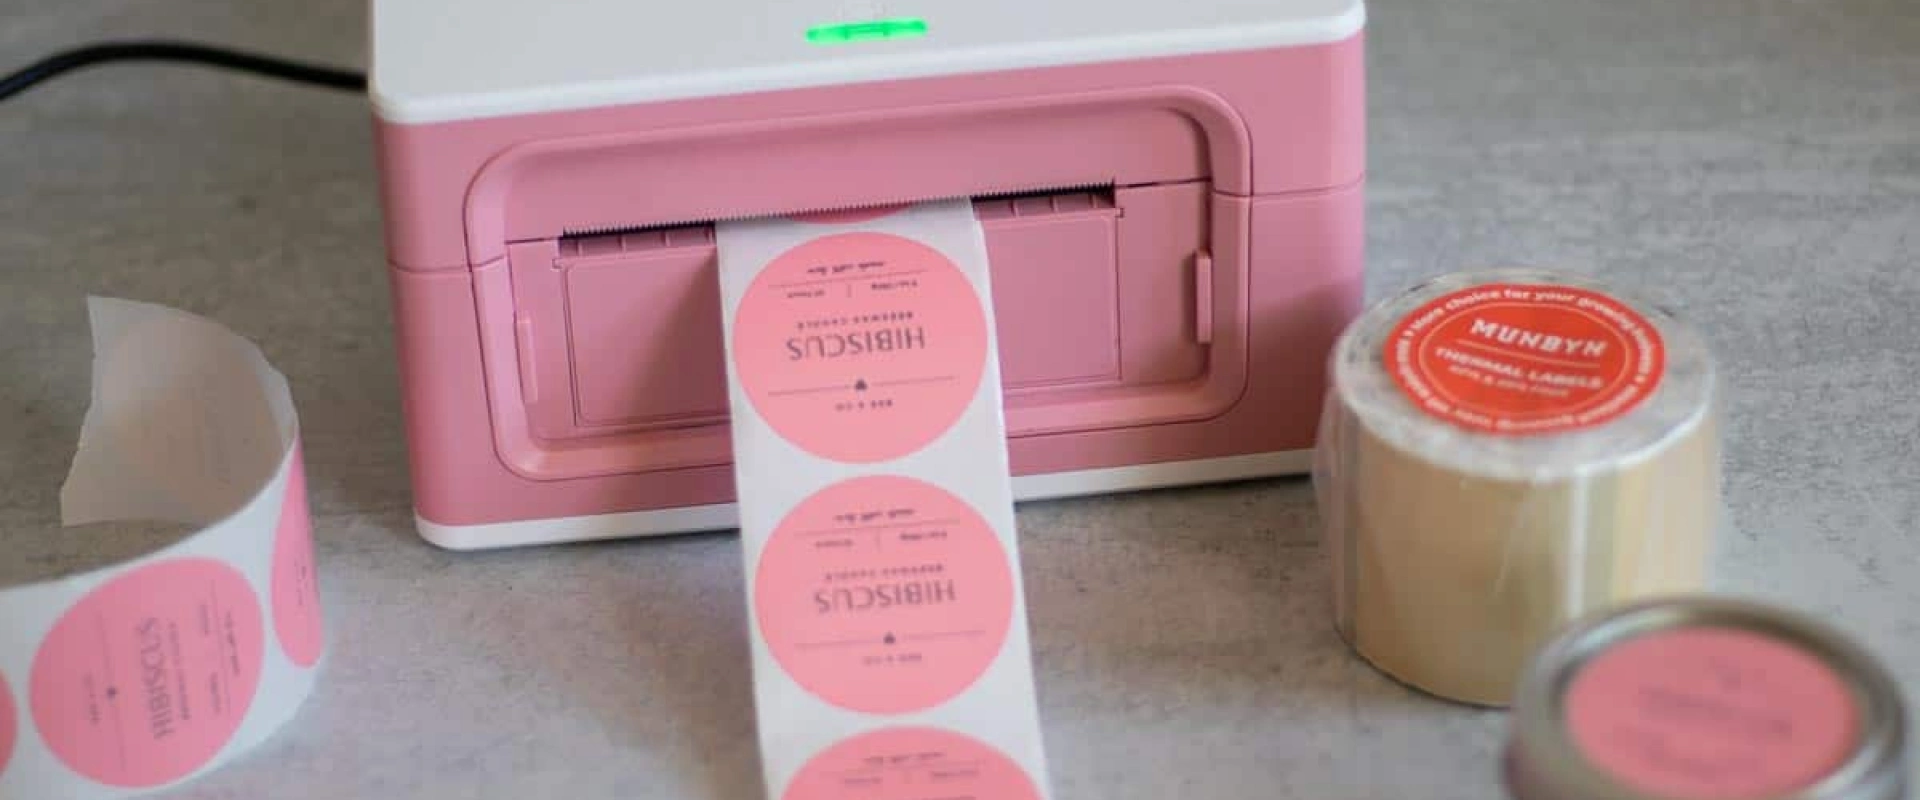
Printing labels at home can be a convenient and cost-effective solution for small businesses, crafters, or individuals needing personalized labels for various purposes. Whether you’re labeling products for sale, organizing items at home, or creating custom gifts, here’s a step-by-step guide to help you print professional-quality labels from the comfort of your own home.
-
Choose the Right Equipment
- Printer: Use a high-quality inkjet or laser printer suitable for label printing. Inkjet printers are ideal for vibrant colors and photo-quality prints, while laser printers offer crisp text and waterproof options.
- Label Sheets: Select label sheets compatible with your printer type (inkjet or laser) and label size. Common label sizes include standard address labels (2.625″ x 1″) or larger formats for product labeling.
-
Select Your Label Design Software
- Design Software: Choose label design software that meets your needs. Options range from free software like Canva or Avery Design & Print Online to professional graphic design tools like Adobe Illustrator or CorelDRAW.
- Templates: Use pre-designed label templates provided by your software or label manufacturer. Templates ensure proper alignment and dimensions, reducing waste and ensuring a professional finish.
-
Design Your Labels
- Customization: Customize your labels with text, graphics, logos, and images that reflect your brand or personal style. Ensure readability and visual appeal by using contrasting colors and choosing appropriate fonts.
- Information: Include essential information such as product names, ingredients, usage instructions, or personal messages. Double-check accuracy before printing to avoid errors.
-
Print and Test
- Print Settings: Adjust print settings to match your label type and printer specifications. Select the correct paper type (e.g., matte, glossy) and ensure the print quality meets your expectations.
- Test Print: Before printing a full batch, perform a test print on plain paper to check alignment, colors, and text clarity. Make adjustments as needed in your design software.
-
Apply and Store
- Application: Carefully apply labels to clean, dry surfaces. Use a ruler or label applicator for precise placement and to prevent air bubbles. Press down firmly to ensure adhesion.
- Storage: Store printed labels in a cool, dry place away from direct sunlight and moisture to maintain print quality and adhesive strength.
Conclusion
Printing your own labels at home allows for flexibility, customization, and cost savings, whether for personal or business use. By following these steps and using quality label materials and printing techniques, you can achieve professional-looking labels that meet your specific needs.
For a wide selection of label materials and sizes tailored to your home printing projects, visit NTXSupply.com. NTX Supply offers a variety of label options compatible with inkjet and laser printers, ensuring you find the right labels to enhance your DIY labeling projects.

